With Solevato’s Website Channel, you can integrate your website, embed a live-chat widget on your site, to let visitors chat with your team in real time. This guide shows you how to create a website inbox and customize it to match your brand.
1. Integrate website and Create a Website Inbox
1. First, Log in to your Solevato account at https://app.solevato.com.
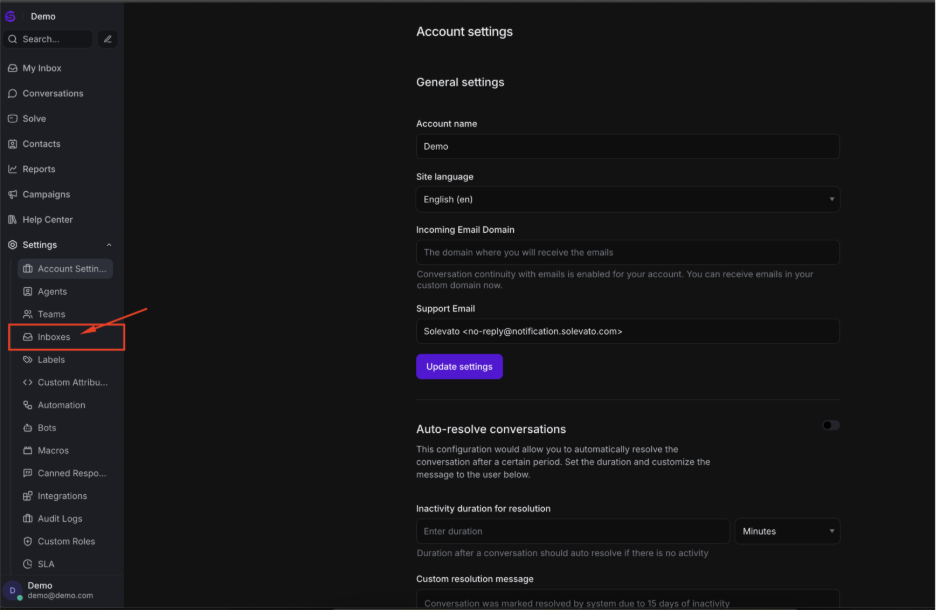
2. Then, from the left menu, scroll down and click Settings.
3. After that, in the Settings panel, select Inboxes.
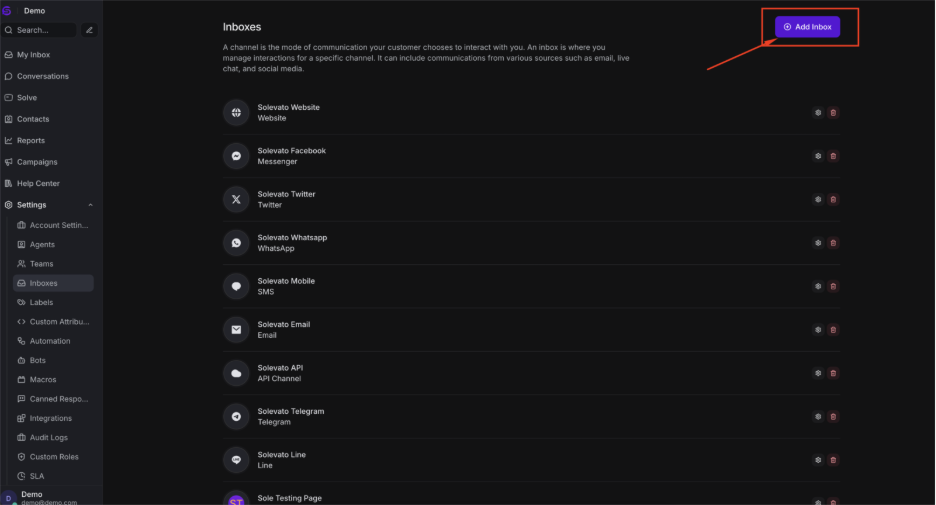
4. Click Add Inbox.
5. Choose Website as the channel type to integrate the website.

6. Fill in the basic information:
A) Channel Name — e.g., “Company Website”
B) Domain — Add the website where the widget will be embedded
C) Welcome Heading & Tagline — A friendly greeting for visitors
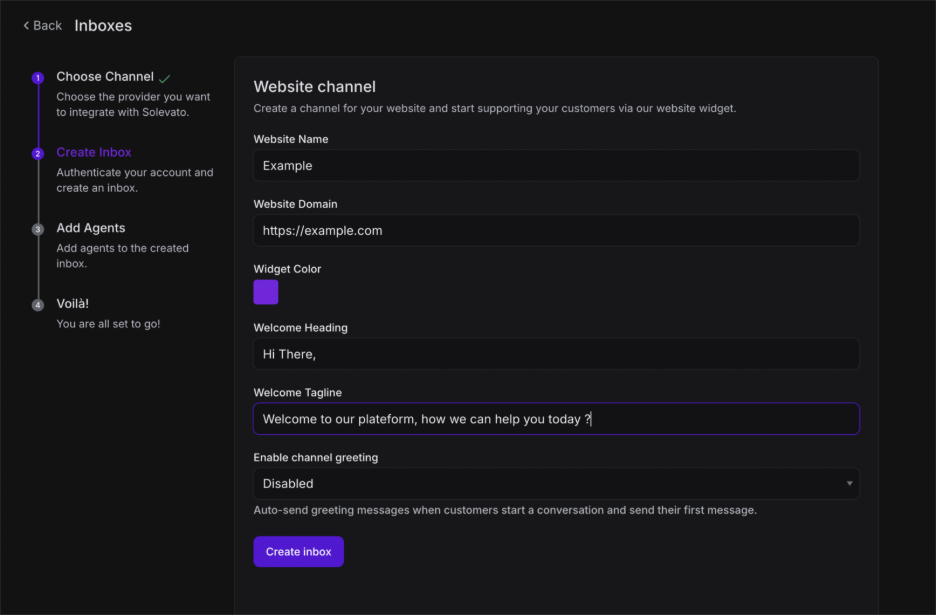
7. Click Create and your new Website Inbox is now ready.
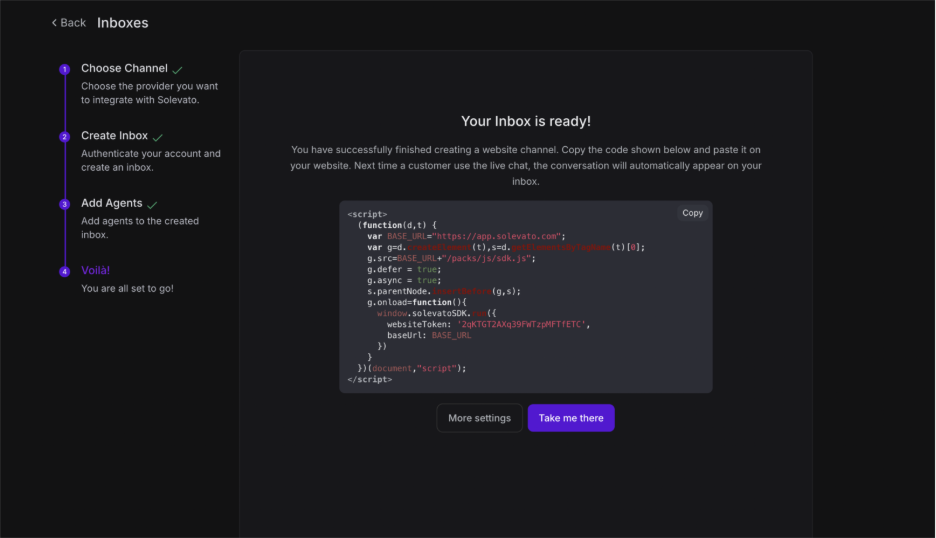
8. Embedding the Widget
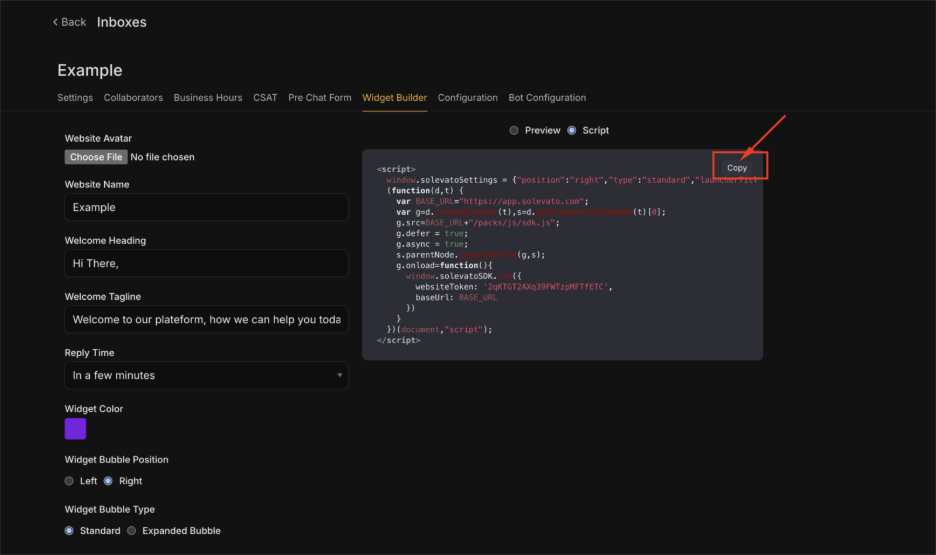
A) Go to Widget Builder → Script View or Configuration tab.
B) Copy the JavaScript snippet.
C) Paste it before the closing </body> tag of your website’s HTML.
D)Publish your changes.
2. Customizing the Website Inbox
Once the inbox is created, click the gear icon next to its name in the Inboxes list to open customization tabs.
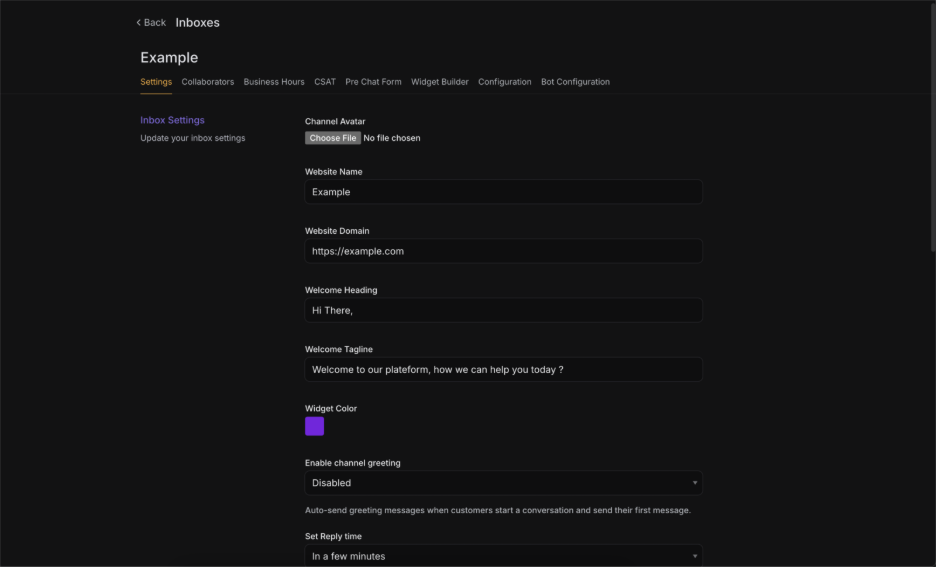
Settings Tab
- Channel Avatar — Upload an image to appear in the widget.
- Website Name & Domain — Adjust branding details.
- Welcome Heading & Tagline — Friendly intro text.
- Widget Color — Match your brand palette.
- Greeting Message — Automatic welcome when visitors open the widget.
- Reply Time Display — Show “Typically replies within…” info.
- Feature Toggles — Enable/disable file picker, emoji picker, end conversation option, etc.
- Help Center Link — Link to your help center if applicable.
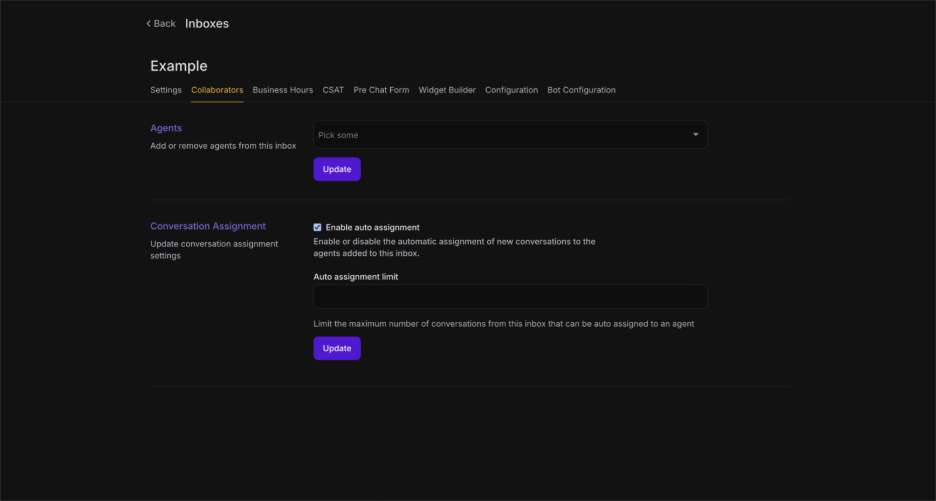
Collaborators Tab
- Add or remove team members.
- Auto Assignment — Automatically assign new conversations to available agents.
- Assignment Limit — Cap the number of conversations per agent.
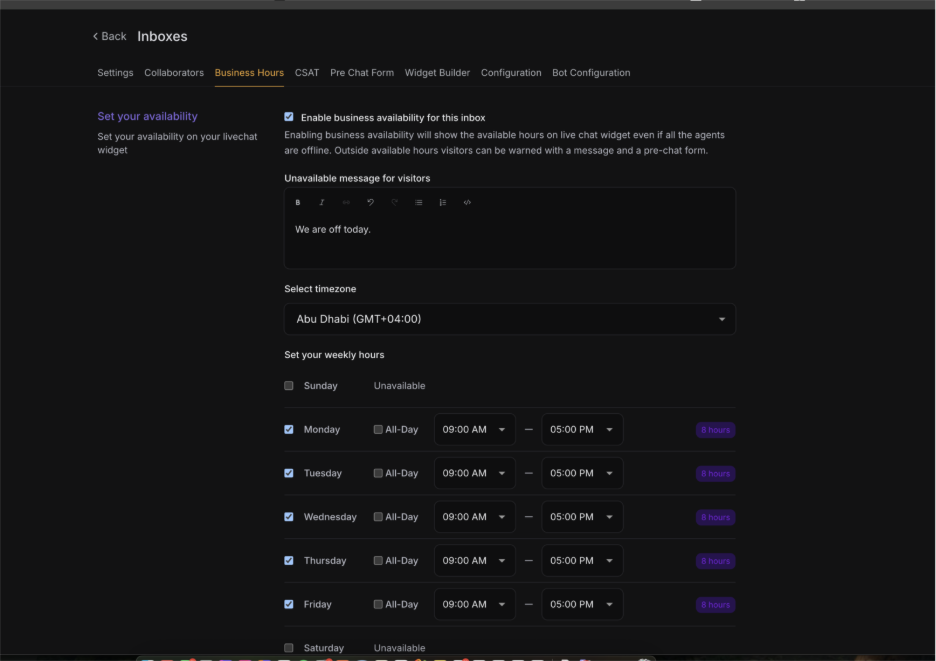
Business Hours Tab
- Enable specific availability hours.
- Display business hours in the widget even when offline.
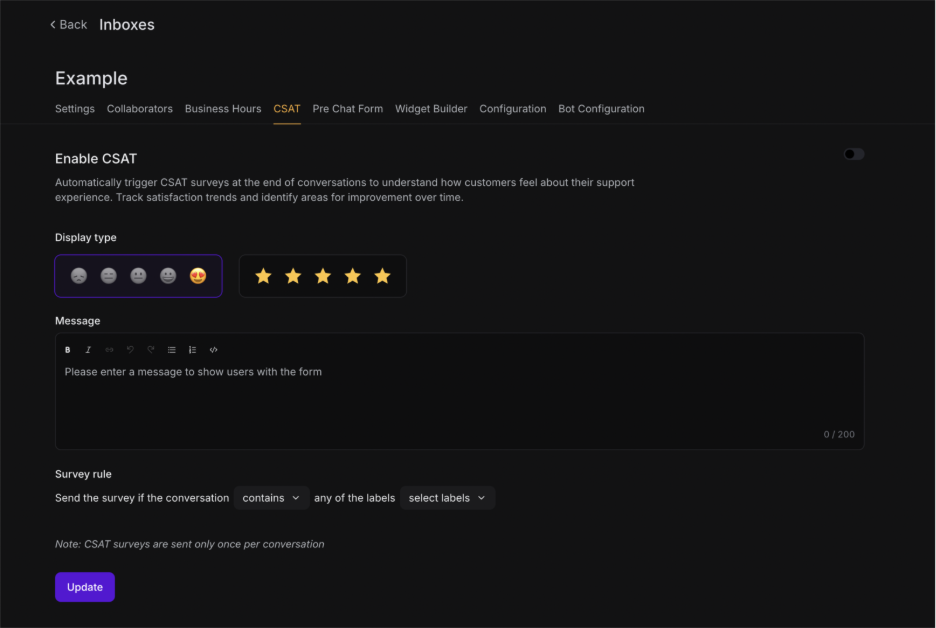
CSAT (Customer Satisfaction) Tab
- Enable post-chat surveys.
- Choose rating style (emojis or stars).
- Customize the survey message.
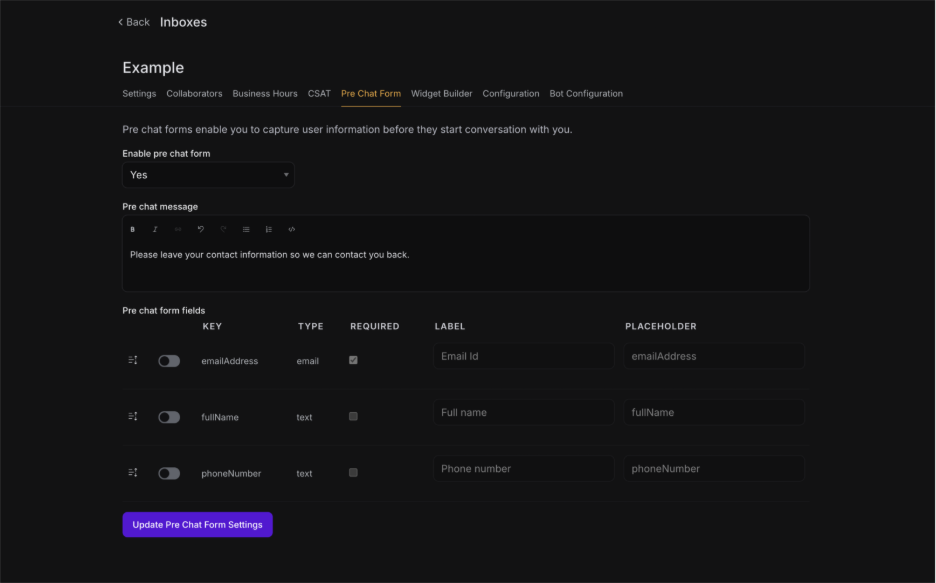
Pre-Chat Form Tab
- Collect visitor details before a conversation starts (name, email, phone, etc.).
- Make fields optional or required.
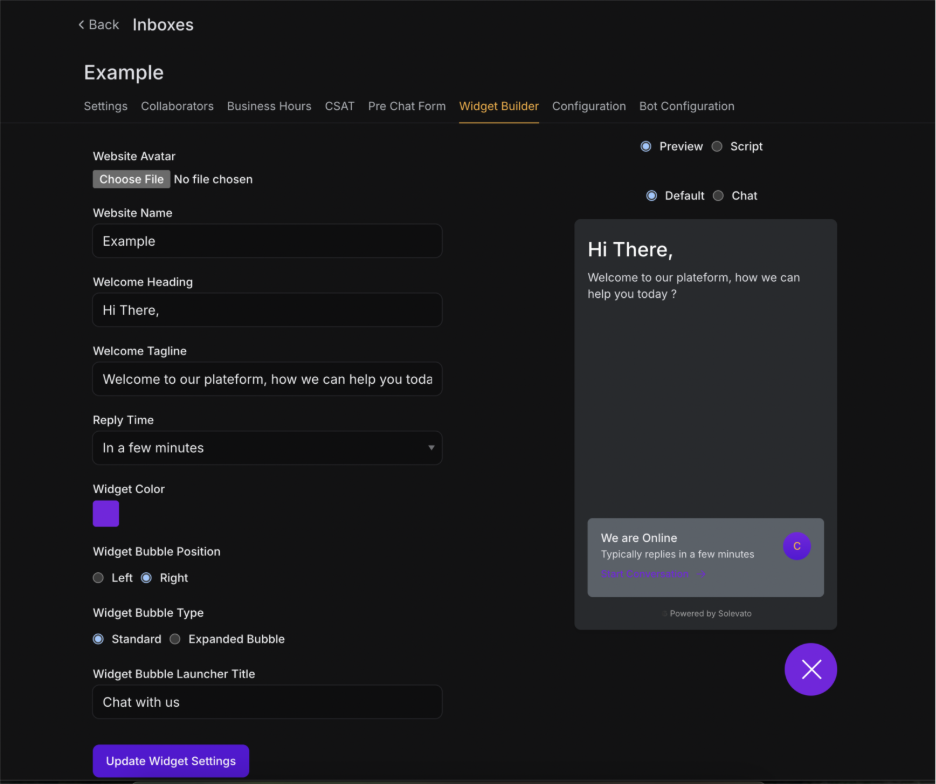
Widget Builder Tab
- Preview Mode — Visualize the widget design.
- Adjust position (left/right), bubble type, and launcher text.
- Upload avatar and brand elements.
- Switch to Script View to copy the embed code for your website.
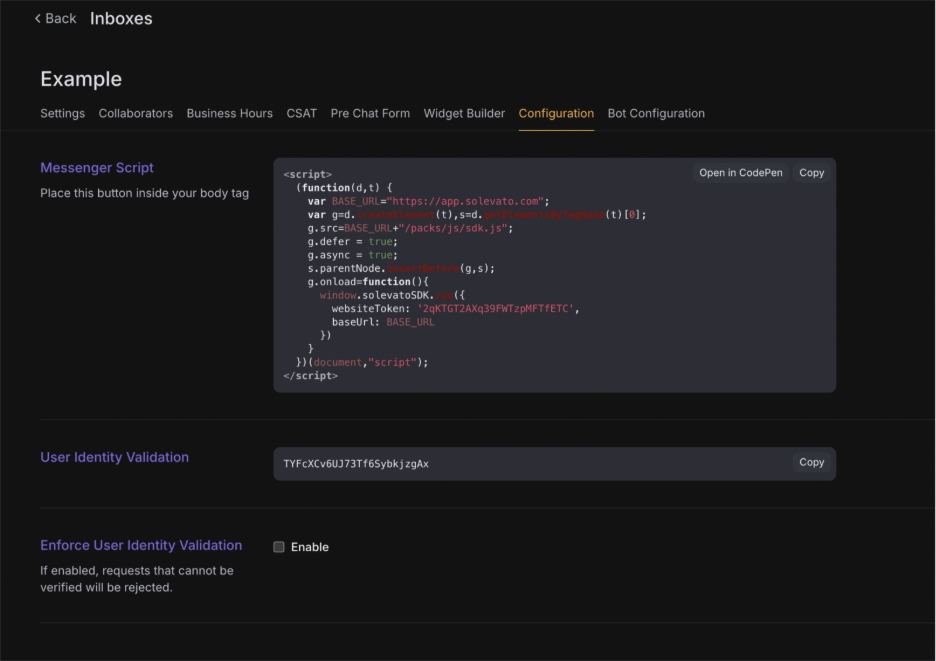
Configuration Tab
- Messenger script for embedding in your site’s HTML.
- Identity Validation — Secure conversations by verifying user identity.
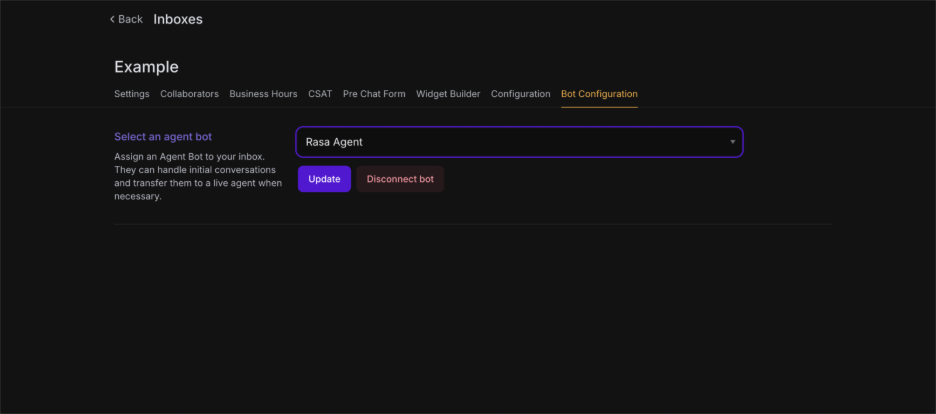
Bot Configuration Tab
- Assign an agent bot to automatically reply.
- Update bot settings and disconnect if needed.
3. Embedding the Widget
- Go to Widget Builder → Script View or Configuration tab.
- Copy the JavaScript snippet.
- Paste it before the closing </body> tag of your website’s HTML.
- Publish your changes.
If you’re just getting started and want to register for free and create a free account, check this article How to register in Solevato, a customer support platform, for free? – Solevato