Delivering timely and efficient customer support is essential for businesses to maintain customer satisfaction and loyalty. Solevato, a leading customer support platform, empowers businesses to automate repetitive tasks, reduce response times, and enhance the overall support experience.
One of its most powerful features is automation, allowing support teams to focus on high-value interactions while the system handles routine processes.
What Are Automations in customer support platforms?
Basically, automations in Solevato are predefined rules that trigger actions automatically based on specific conditions.
These can range from routing incoming tickets to the right agent, sending automated replies, updating ticket statuses, or escalating critical issues.
Also, automations reduce manual workload, ensure consistency, and prevent delays in customer support.
Benefits of Using Automations
- Save Time and Resources
By automating repetitive tasks such as ticket assignments or follow-ups, your team can focus on more complex customer issues.
- Ensure Consistency Automations guarantee that every customer receives a good level of support, maintaining your brand’s reputation.
- Reduce Human Error
Manual processes can lead to mistakes or overlooked tickets. Automations handle tasks accurately every time.
- Improve Response Time
Automated triggers such as instant acknowledgment emails or chat responses keep customers informed and engaged.
How to Create Automations in Solevato
Basically, creating automations in Solevato is straightforward, even for non-technical users. Here’s a step-by-step guide:
Step 1: Identify Repetitive Tasks
Firstly, you can start by analyzing your support workflows. Common tasks that can be automated include:
- Assigning tickets to specific agents based on category or priority
- Sending automated acknowledgment emails
- Escalating high-priority issues to supervisors
Step 2: Access your Solevato dashboard
Then, you need to log in to your Solevato account and open your dashboard through this link https://app.solevato.com.
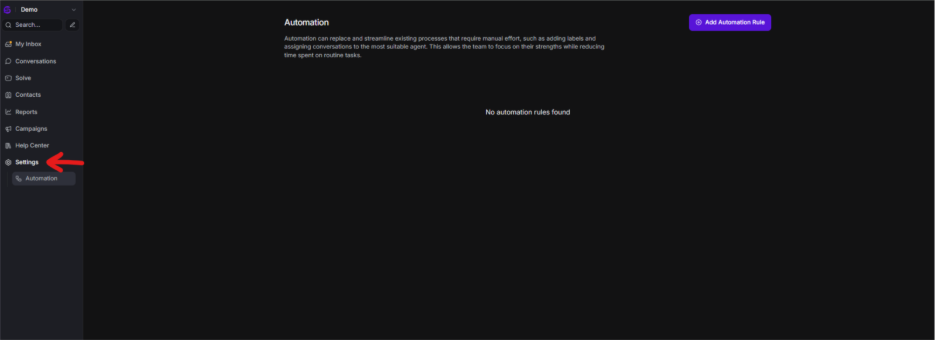
After that, click on settings icon as shown in the picture below
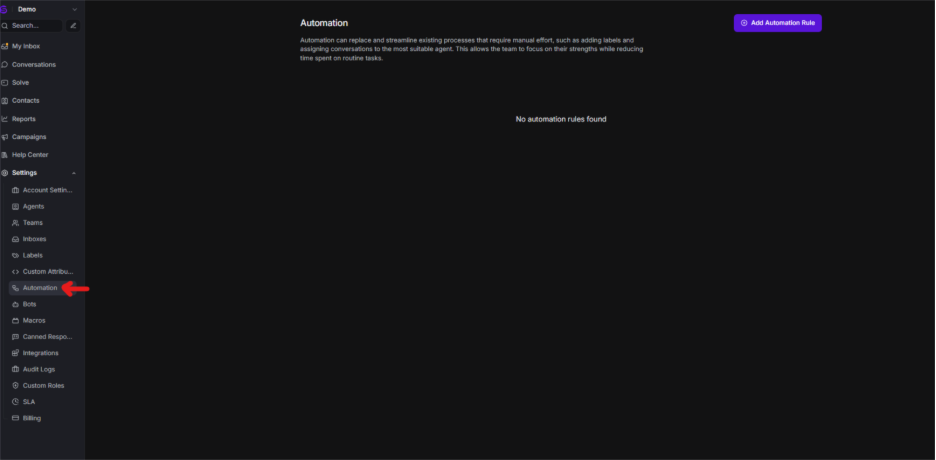
Step 3: Choose automations
1. In order to choose automations, you need to click on automations icon on the left side bar, and click on ‘add automation rule’
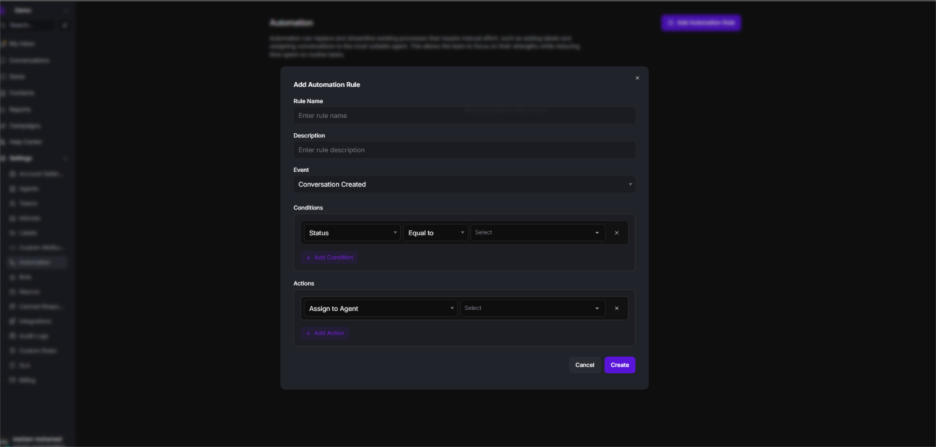
Step 4: Define Conditions and Triggers
Automations in Solevato are based on triggers and conditions. For example:
- Trigger: A new ticket is submitted
- Condition: Ticket priority is “High”
- Action: Assign ticket to the “Urgent Support” team
Step 5: Set Actions
Actions define what happens when the conditions are met. For example:
- Sending internal notifications to your team
- Updating ticket status automatically
- Sending pre-written responses to customers
Step 6: Test Your Automation
Before activating an automation, test it to ensure it works as intended.
Tips for Effective Automations
- Start Small: Focus on the most repetitive tasks first. Gradually expand automation to cover more complex workflows.
- Regularly Review: Customer support needs evolve, so review your automations regularly to ensure they remain relevant.
Conclusion
To sum up, creating automations in Solevato is a game-changer for businesses seeking to improve their customer support efficiency. By automating routine tasks, you free up your team to focus on meaningful interactions, reduce errors, and enhance customer satisfaction. With Solevato, automation is not just a feature, it’s a strategic advantage that helps your business scale smarter and faster.
Want to get started with Solevato? Start by creating a free account